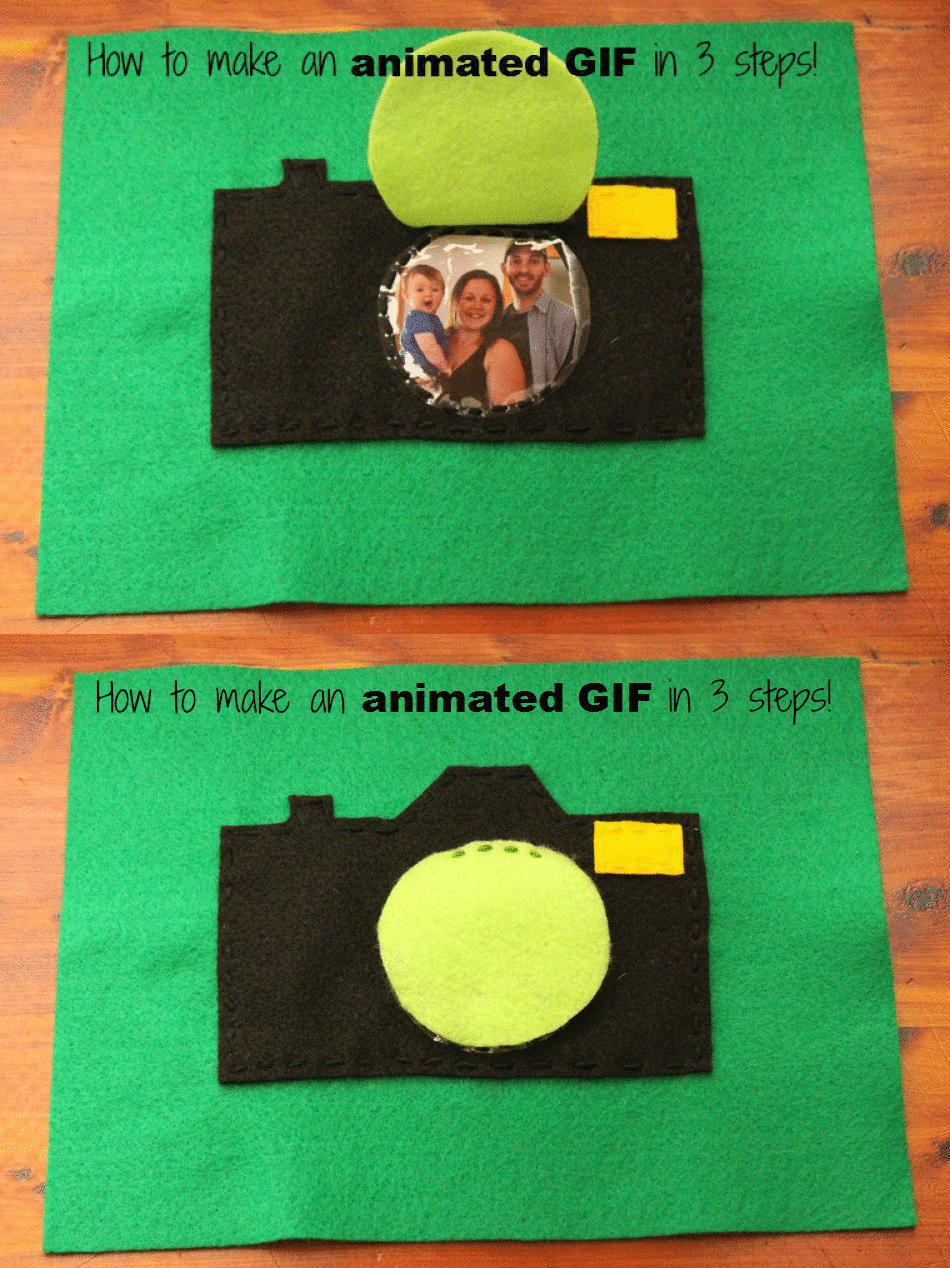
I wanted to be able to create an animated GIF for my toddler quiet book page post, to show how the pages were interactive.
If I would have known that it was SO EASY, I would have done it sooner!! It can be done in 3 easy steps.
Before making your animated GIF
Have your pictures ready to go by:
1)having them uploaded to your computer
and
2)make sure your pictures (combined) are 2 MB or less.
If you need to resize them, like me, you can use think link to help with that. All I did was open up both of my pictures up in Microsoft Office Picture Manager (right click on a picture>Open With>Microsoft Office Picture Manager). Mine came standard on my computer. At the menu bar, click Picture>Resize>Percentage of Original width x height: 100%. I chose to lower both pictures to 40%, clicked OK and then 'saved as' for my new picture.
When taking your pictures for the animation, make sure that you use a tripod! This will make sure that the camera stays in the same position while shooting your photos. Also try to not to move the item you are shooting. My animations aren't perfect and you can see a little movement between the two pictures.
Creating your animated GIF
1. Create a free account at Make a Gif. This way your GIF won't be watermarked with their logo! Then click 'create a gif,' or 'add pictures.'
2. Upload your pictures, using the control key to select more than one. Select your settings (order of pictures, speed {I use slower} etc.) You can also make these private if you don't want to share what you've created. Score!
3. Click 'create your gif' and you're done! When it's finished you can chose how to share it: direct, message board, website or markdown. I always use the website embed code, copy it, and paste it into my blog's html box.


No comments:
Post a Comment