Pages

April 24, 2014

How to make an Animated GIF with Photos in 3 steps!

How to GIF on Make A Gif

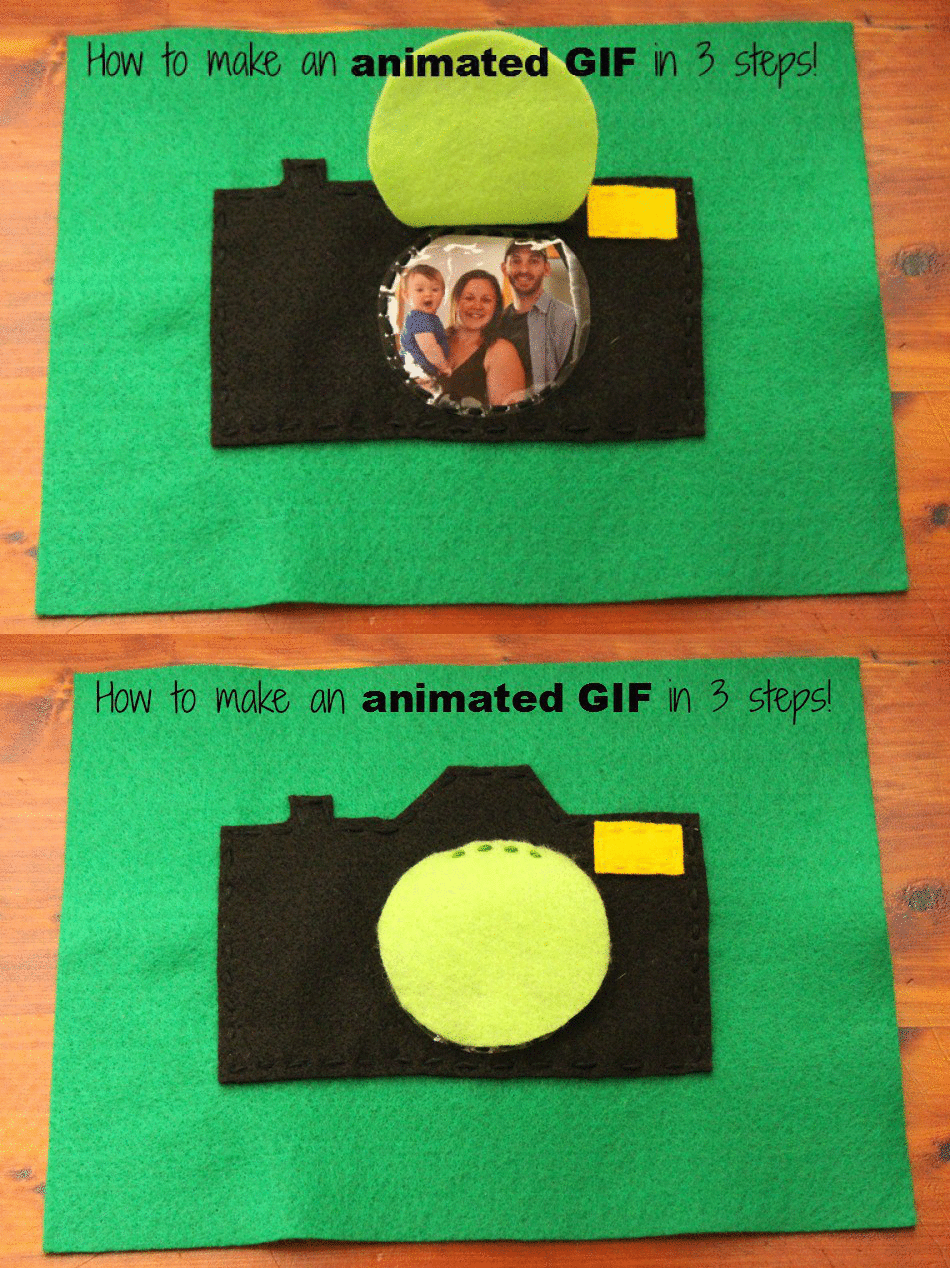
I wanted to be able to create an animated GIF for my toddler quiet book page post, to show how the pages were interactive.

If I would have known that it was SO EASY, I would have done it sooner!! It can be done in 3 easy steps.

Before making your animated GIF
Have your pictures ready to go by:
1)having them uploaded to your computer 
and 
2)make sure your pictures (combined) are 2 MB or less. 

If you need to resize them, like me, you can use think link to help with that. All I did was open up both of my pictures up in Microsoft Office Picture Manager (right click on a picture>Open With>Microsoft Office Picture Manager). Mine came standard on my computer. At the menu bar, click Picture>Resize>Percentage of Original width x height: 100%. I chose to lower both pictures to 40%, clicked OK and then 'saved as' for my new picture.

When taking your pictures for the animation, make sure that you use a tripod! This will make sure that the camera stays in the same position while shooting your photos. Also try to not to move the item you are shooting. My animations aren't perfect and you can see a little movement between the two pictures.

Creating your animated GIF
1. Create a free account at Make a Gif. This way your GIF won't be watermarked with their logo! Then click 'create a gif,' or 'add pictures.'

2. Upload your pictures, using the control key to select more than one. Select your settings (order of pictures, speed {I use slower} etc.) You can also make these private if you don't want to share what you've created. Score!

3. Click 'create your gif' and you're done! When it's finished you can chose how to share it: direct, message board, website or markdown. I always use the website embed code, copy it, and paste it into my blog's html box.

Didn't I say it would be easy??!! What animated GIFs have you made? I'd love to see them!


April 21, 2014

A Review: The Okkatots Travel Diaper Bag Backpack

Okkatots Travel Baby Depot Diaper Bag Backpack: ★ ★ ★ ★ ★ 5/5
This is my personal review of the Okkatots Travel Diaper Backpack

A Review: The Okkatots Travel Baby Depot Diaper Bag Backpack
(via Okkatots)
I love having a backpack as a diaper bag. Period. It's so much easier to have both hands free, especially when baby turns to a toddler! The first backpack diaper bag we had was a Fisher Price diaper backpack (see pictures at the bottom). It held up great, for the first year that is. After that the seams started coming undone, majorly undone, in the area where the backpack straps meet the bag, a pretty crucial area if you ask me, and around the outsides of the side pockets. The bag even cost a good deal of money! About $50 (and now it looks to be about $20 more)! Luckily it was a shower gift, but I didn't count on having to purchase ANOTHER baby item, and I hated knowing that friends and family spent their good money on an unreliable product.  

Sigh. What to do now? To up the ante, we also had a vacation coming up that involves Christian's first flight, so I needed something reliable, and fast. I didn't want to be in the mist of trying a new bag out while traveling.
Enter the Okkatots backpack diaper bag! I took the plunge and purchased this travel diaper bag. Yes, it was expensive ($109 on a small sale) but like I said, I needed something that would last and was reliable. I also read other reviews by traveling moms about how great this bag was, so I was pretty sure this was the bag for us.

I began researching traveling with baby's/toddlers and read up more on this bag, and came upon Okkatots detailed page for the diaper bag. All the pictures and descriptions had me sold! I loved seeing the detailed pictures and descriptions. They had so much info!
Pros:
-LOTS of pockets for organizing everything
-pockets are roomy and deep (including an insulated side pocket as well as a pocket that has little sewn in compartments for silverware!)
-side pockets can zip open traditionally or open like a standing book (shown here)
-comfy shoulder straps that adjust
-clip and pocket on the shoulders straps to hold a phone, ipod, keys, toys etc.
-nice handles on top to carry the bag or hang it (can also clip around and onto a stroller, hook etc.)
-can fold open like a standing book, or the front zips down on both sides and folds down like a flap.
-comes with a waterproof pouch (dirty clothes, cups etc.), pacifier pouch, wipes pouch and changing mat
-good size changing mat that has nice cushion  to it
-clip inside to hold keys
-DVD pocket and holder, great for travel and roadtrips
-good size for an airplane carry on (can't wait to test this out!)

Cons:
-Price... $109 is steep, especially for a stay at home mama and her family! It's a good investment though, just like a good baby carrier.
-kinda bulky but doesn't really bother me
-since we cloth diaper, I haven't found a use yet for the flat "diaper dispenser" pocket. (I just keep my cloth diapers in the main compartment)

NOTE: Update to come once I can speak to how well this bag does while traveling!
Fisher Price                           Okkatots
  Fisher Price                           Okkatots
You can definitely notice that the Okkatots bag is larger than the Fisher Price. I love that this bag can hold everything I need it to and more. We never have a problem with no space. I also like the shape of this Okkatots bag A LOT more than the Fisher Price bag. The shape keeps it nice and sturdy and the bag holds its shape and doesn't bow off of your back like the Fisher Price bag.

Take a tour of my Okkatots bag below!
 
I would definitely recommend this bag to anyone who's looking for a diaper bag backpack! It's easy, quick and great for if you're wearing your baby when they're little, or chasing around a toddler.

Check out my review of the Boba G3 Baby to Toddler Carrier!


April 17, 2014

DIY Quiet Book Pages for Toddlers

I found a new love of sewing, especially embroidery, this past year and wanted a chance to embroider more. Since we have a trip coming up that involves Christian's first flight (eeek!), I thought this was a great opportunity to make him a quiet book.
I loved picking out all the different fabrics, felt, beads and other materials that would go into making this awesome quiet book. The catch: I only had 3 weeks until our trip and I've never made anything like this. Not to mention all the other chaos that goes on with an international trip: passports, packing, shopping for the right size of seasonal clothes for C, etc. You know, the usual vacation stuff. All that takes up time and brain space too. I wasn't sure if this book would really happen or not (and still am not 100% sure), but I hunkered down and got to work.

What to do before sewing
-Brainstorm ideas of the pages you want to create. If you're super organized, you can make a list of all the colors of felt you'll need and materials. I just bought what I saw that I liked and knew I'd use.
-Have an idea of the size you want for you quiet book pages. I stuck to having one page of felt be one quiet book page. 
-Know how you will bind your book. VERY important, because you'll need to leave a margin on the side of your page to connect them.
-Decide if you will have one sided or two sided pages. Leave a margin on every side to accommodate for finishing stitches.
-Layout your design on the page so you can see where everything will fit. Even pin things in place if you'd like.

I learned a lot of these after I already started, like leaving space for binding and a margin for a finishing hem. Oops.

First thing I started with awhile ago, was getting ideas together on the pages that I wanted in the book. You can see everything I've collected so far on my Pinterest board here. Then I made a list of all the pages that I liked the most.
I then went shopping and purchased lots of different things, picking out what caught my eye, and deciding what I could do with certain materials. So far I've only purchased through JoAnn Fabric and used their coupons on everything! 

Many of the pages I've made, or will make, are recreations of pages I've found online. I've thrown in my own ideas here and there, with a few original pages, but I felt I was able to crank more pages out the less creative I was. :o( Since these are so fun to make though, I'm sure I'll be making more after we return from our trip when I have the luxury of brainstorming and creating original pieces!
This was the first page completed! It took me a few days because I didn't keep myself to a hard deadline and I had not yet decided what I wanted to put under the cloud. An umbrella? No. But a duck was perfect. Can you see what I mean about leaving space for a finished hem?? D'oh! {Enter picture of Homer}

I hand stitched everything, starting with the ribbon and pearls to make sure they were secured. Then I stitched the cloud over them.
My next page was a lion.
The lion was a little trickier because of the fuzzy mane. I first made the outline of the face and sewed on the mane by attaching it with a whip stitch in orange floss. Then I attached the button eyes and sewing on its face and whiskers. Before attaching the entire head to the felt page, I sewed the ribbon on.
My lovely little giraffe! Christian is obsessed with giraffes, and this page was also a lot of fun! I cranked this page out in 2 hours while Christian napped. I think I've finally gotten the hang of what I'm doing. :o) I love how it turned out! There are so many things to play with on this page: the mane, ribbons, ears and buttons!
I know already that Christian loves to stick his hands in these mittens! I needed to make sure they fit his hand before putting the finishing touches on them, and thank goodness I did! {Note: when tracing a hand (any hand) make sure not to trace down to the wrists. They will have trouble getting their hands into a tapered opening!} To fix this I pulled the stitches from the bottom of each glove, on each side to make the opening bigger. Whew. I also sewed a back onto these gloves so that when putting his hands in, C wouldn't get any fingers caught in the back of the stitching.
Camera on Make A Gif
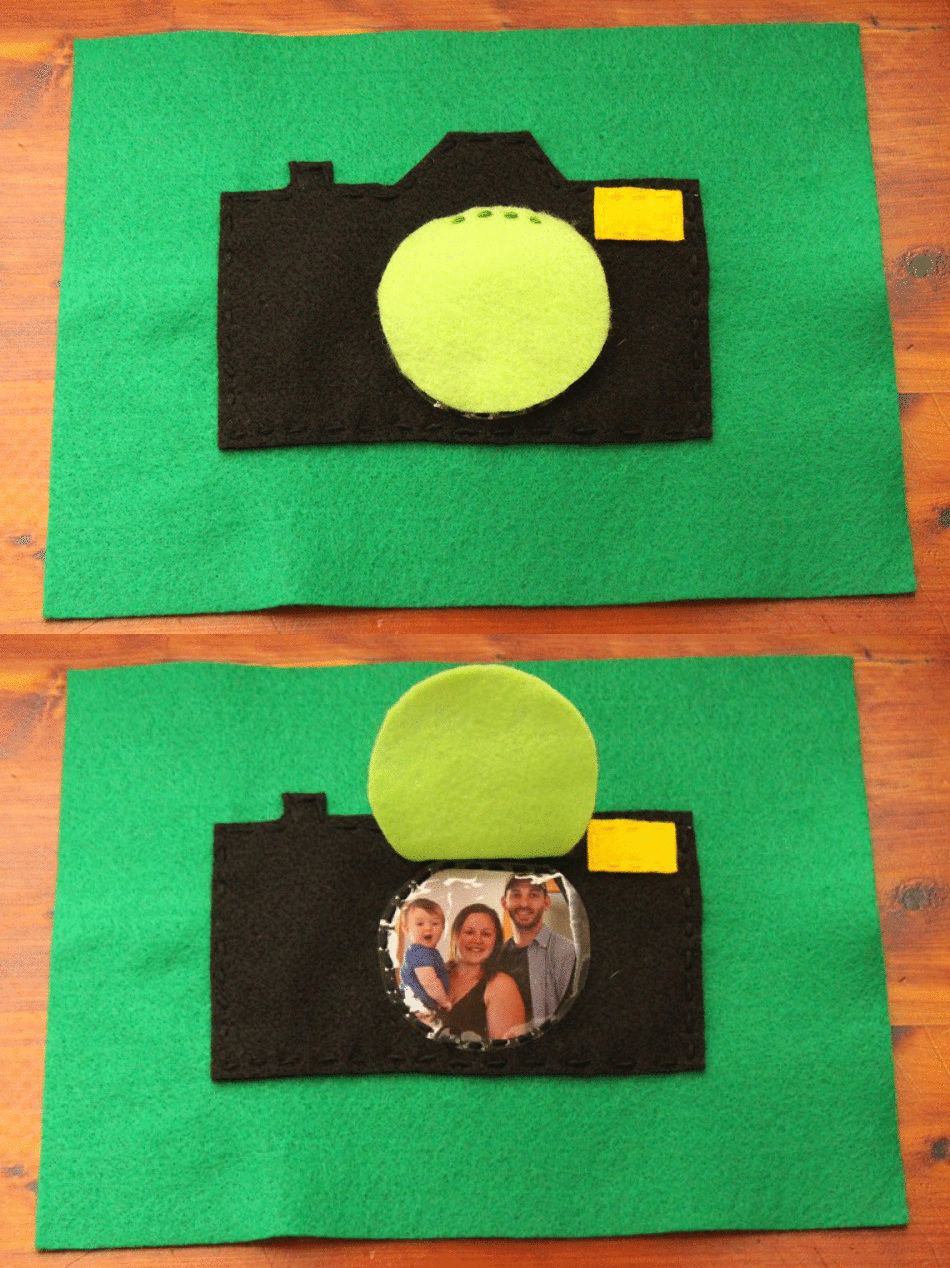
This camera page was fun to make too! It was my first time sewing vinyl and it wasn't bad at all. I've heard that machines can have issues with vinyl putting hand stitching was a cinch. I love that I can switch the pictures out compared to other pages I've seen where the picture is sewn in completely. I did have to bend the photo a little to get it in and then lay it flat, but since there were no creases, it was unharmed!
Tardis on Make A Gif
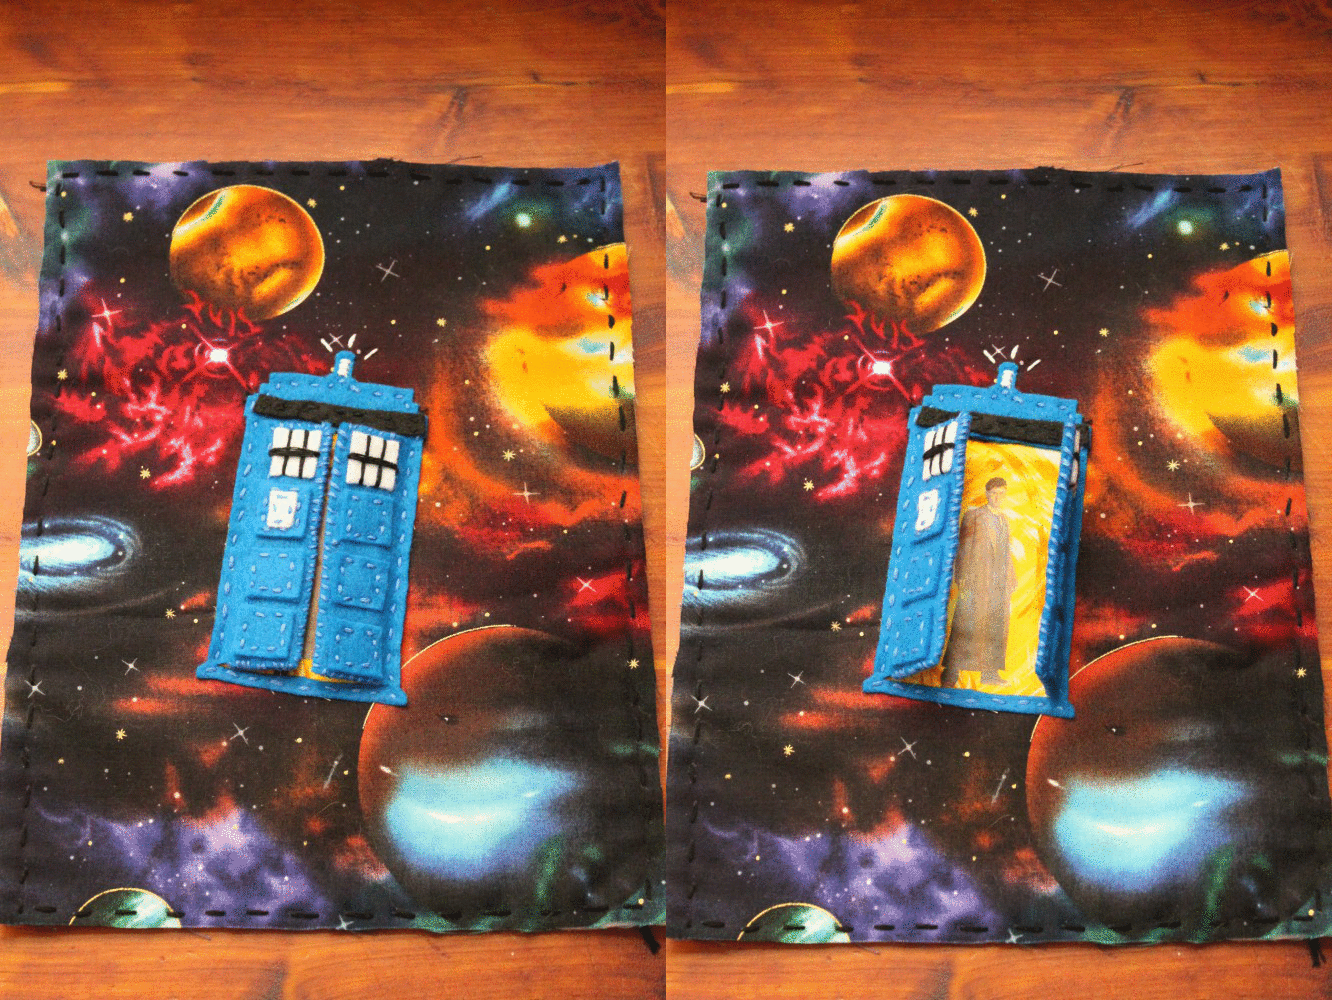
This page was the most fun to sew! We are BIG Doctor Who fans, so I decided I had to make a page with the Doctor. I purchased some awesome galaxy fabric that I found, stitched a TARDIS on it, and completed it with an iron-on-transfer of the 10th Doctor, David Tennant. Awww, love it!
garden on Make A Gif
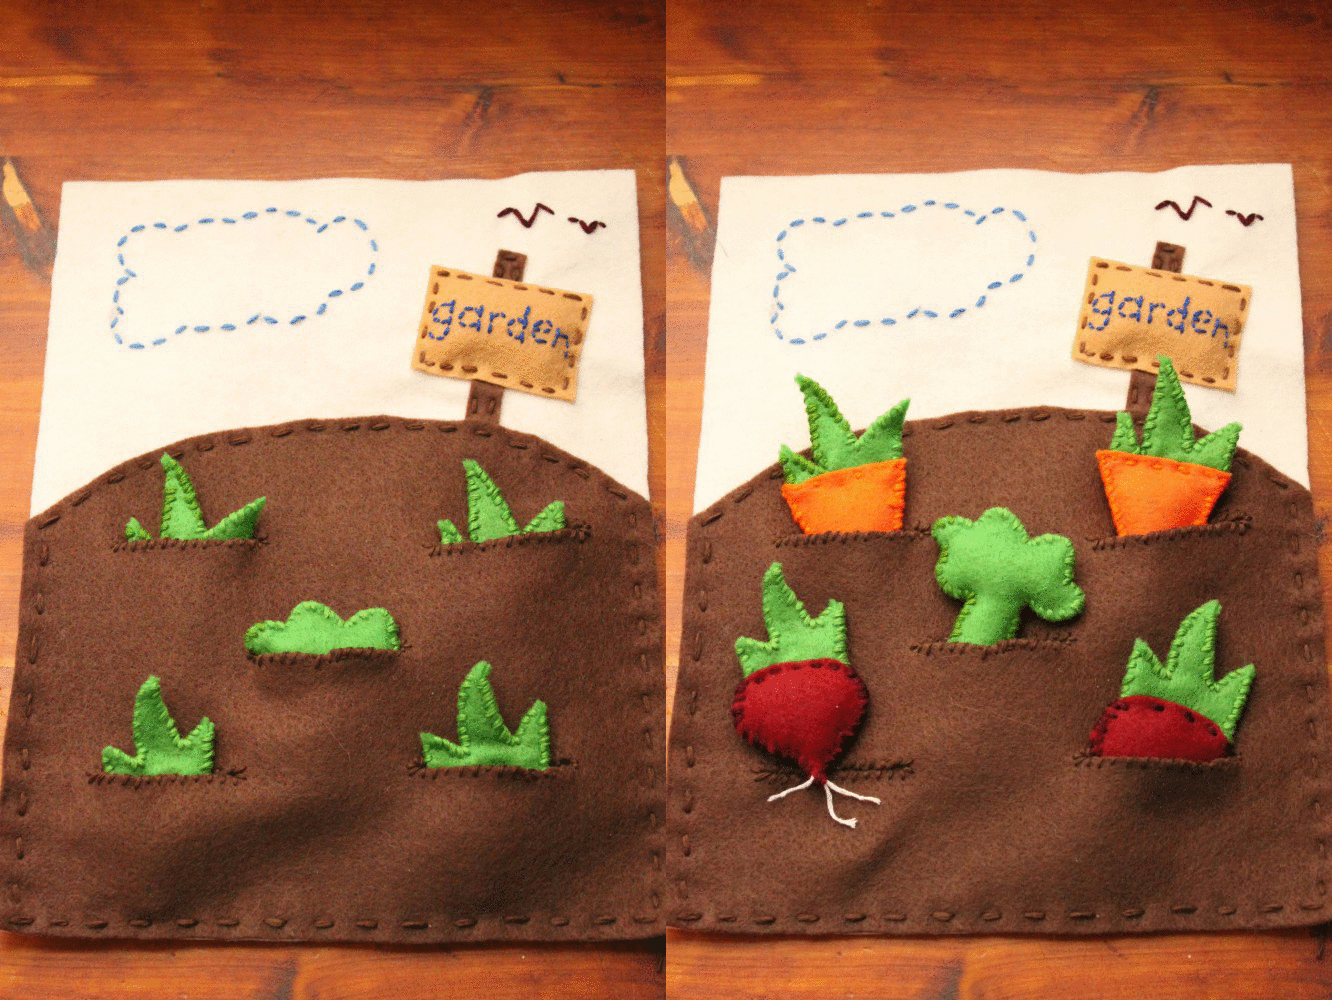
This garden page with pull out veggies was a lot of fun too, but it was also the most time consuming! The veggies are 3D and stuffed, making them extra fun to play with. :o) I didn't want to use my machine to make a button hole for the veggies to sit in, so I simply cut lines into the felt, and whip stitched around the openings so that the fabric would stay held together.
That's all I have so far! I'm nervous and anxious to get some more pages finished! I want this to be more of a book rather than just a few pages. I'm really hoping it'll all come together in time! Only a little less than 2 weeks to go before it has to be completely finished!

April 11, 2014

1st Shopping Trip to Trader Joe's!!

Last week was my first week shopping at Trader Joe's.  

Gasp. Is she serious? Yes, I am. 

We didn't have one conveniently located near our home but I had always heard great things about the store.

{Enter an opening of a Trader Joe's near us!}

Everyone around the area, that I talked to at least, was very excited to visit the new Trader Joe's store and was excited to have one so close!  

If you call a 20-25 minute drive close. Around these parts where there's traffic galore, that's not too bad.

My first trip was planned on a day that I could go by myself aka a day without lugging an impatient toddler around with me. I'm glad I fit it into my schedule this way, because I wanted to browse the entire store and make an event out of it.

That morning before heading to the store, I asked friends via social media, what foods they loved at Trader Joe's. I got a lot of great responses and was excited to try new foods!

Here is what I tried first, what I loved and what I didn't care for. 
LOVE
-Greek Yogurt: SOOOO delicious and creamy!! Much better than Chobani (and better for you) which is what we have eaten for years.
-Freeze dried mango: this is such a great snack for Christian. It takes so sweet and has nothing but mango in the bag.
-Speculoos Cookie & Cocoa Swirl: this comes in a jar like peanut butter and can be used as a spread on a cookie, bread or even mixed with some frozen banana for a yummy night treat. (They also have plain without the cocoa)
-Sliced seasoned chicken breast: This is great and easy to use for Christian's lunch, plus it's seasoned which tastes yummy and this price is comparable to the shredded rotisserie chicken we used to buy at Jewel.
-Eggs: We love these because they are all natural, no hormones, from local farms and we feel good about supporting that kind of business! Plus, the price is great.
-BBQ Chicken Teriyaki: (frozen section) this stuff is just plain awesome served with some jasmine rice, which they also sell right next to this. I bought 2 bags this time around to feed my healthy eating family of 3. Christian loves this stuff as much as we do, even without the added sauce!
-Milk Chocolate bar: it's so good, just try it.
-Fruit Wraps: all natural, yummy and an easy snack for C boy!
-Spinach Tortellini: These were very tasty and only $2 a bag! Next time I'll be buying 2 to serve all of us for one meal. 

VERY GOOD
-I had to give the produce and frozen fruit a "very good" because the avocados were expensive (around $1.50 for one!), and the frozen fruit bags were a little too small for me. Plus they didn't have a resealable top, which is something I need since we make smoothies every morning.
-The Steel Cut Oatmeal (frozen section) was good, but a little bland for me. We used this in a squeeze pack recipe for Christian and he likes it.

OK
Veggies Sticks- nothing to rave about, but I don't dislike them either.
NO THANKS
Did you know, which if you shop at Trader Joe's you probably already do :o), that if you don't like something you can notify your store and they will refund you? You don't even have to bring in the box or bag! I had to do this with the Spinach and Kale Pie. It was kinda pricy ($5) and it was not a hit at home. I told them this when I was checking out and they simply took it off of my bill! Awesome! They really are ranked #1 in customer service for a reason! I'm thinking they also track this some how but they didn't take any info from me, and no questions asked!
I love that when I came home from the store, they were able to pack everything into three easy to carry bags. Done! No more hauling in bag after bag! I'll have to try to remember to bring my reusable bags next time too!


I think I did pretty well for my first shopping trip and am definitely going back for more. In total I have gone twice and have found something new each time. If you have any other suggestions of Trader Joe's products, let me know! 

April 2, 2014

Chocolate Malted Martini

Ever since visiting a piano bar in Milwaukee, WI, in 2005, I have been in love with Chocolate Malted Martinis (wow has it been 9 years already?!). Unfortunately their martini was SO good, I  haven't been able to find one that came close. To be honest, I'm not even sure of the name of the martini that I had all those years ago! But I remember it tasting like Whoppers.

I wanted to see if I could perfect a recipe that came close. Little did I know that that would be a challenge! Although this recipe comes close to that very first malty martini that made me go crazy, it still isn't exactly right. Maybe I should call the place and ask about the martini... But this one is definitely chocolaty and tasty too.
Chocolate Malted Martini- serves 1
-Whoppers (or Robbin Eggs)
-1 T. half and half (1.5 oz)
-1 T. malted milk powder (like Ovaltine) (2T.)
-3 T. chocolate vodka (1.5oz)
-1 oz. (2 T.) chocolate liquor
-1 T. chocolate syrup (optional)
-ice

Combine all the ingredients (minus the Whoppers) in a shaker and shake. Strain into a glass and add a few Whoppers. Done! You may also add a drizzle of chocolate syrup to the inside sides of your glass before you pour your martini in, but I like my plain :o)
Cheers!