

Simple Photo Edits (that look grand, just wait)
1. Open Picmonkey.com and click 'edit photo.'

3. To add text, click the 'P'. Next, choose your font, then click 'Add Text' at the top of the column.

4. To change the look of your photo, click on the Effects symbol. Scroll through the choices. When you've found the one you like, click 'apply.' This is irreversible unless you cancel out and upload your photo again.

5. You can also have half of your photo with an effect, and other parts, the original color. Once you've clicked on an effect, a Paint box will appear. Click on the original tab and you can color your picture back in with it's original color.

6. You can also layer symbols, effects and text. You can layer many effects onto one photo as well, giving your photo a unique look.

Examples of simple customized photos:
Text added and cropped.

Only text added, but different kinds of texts, positioned around Christian.

Only text and a few layered effects added and positioned around the subject.

Only a few effects used.

Only text and an effect used. It was first turned black and white (through Holga I believe) and then painted the ocean back to its original color.

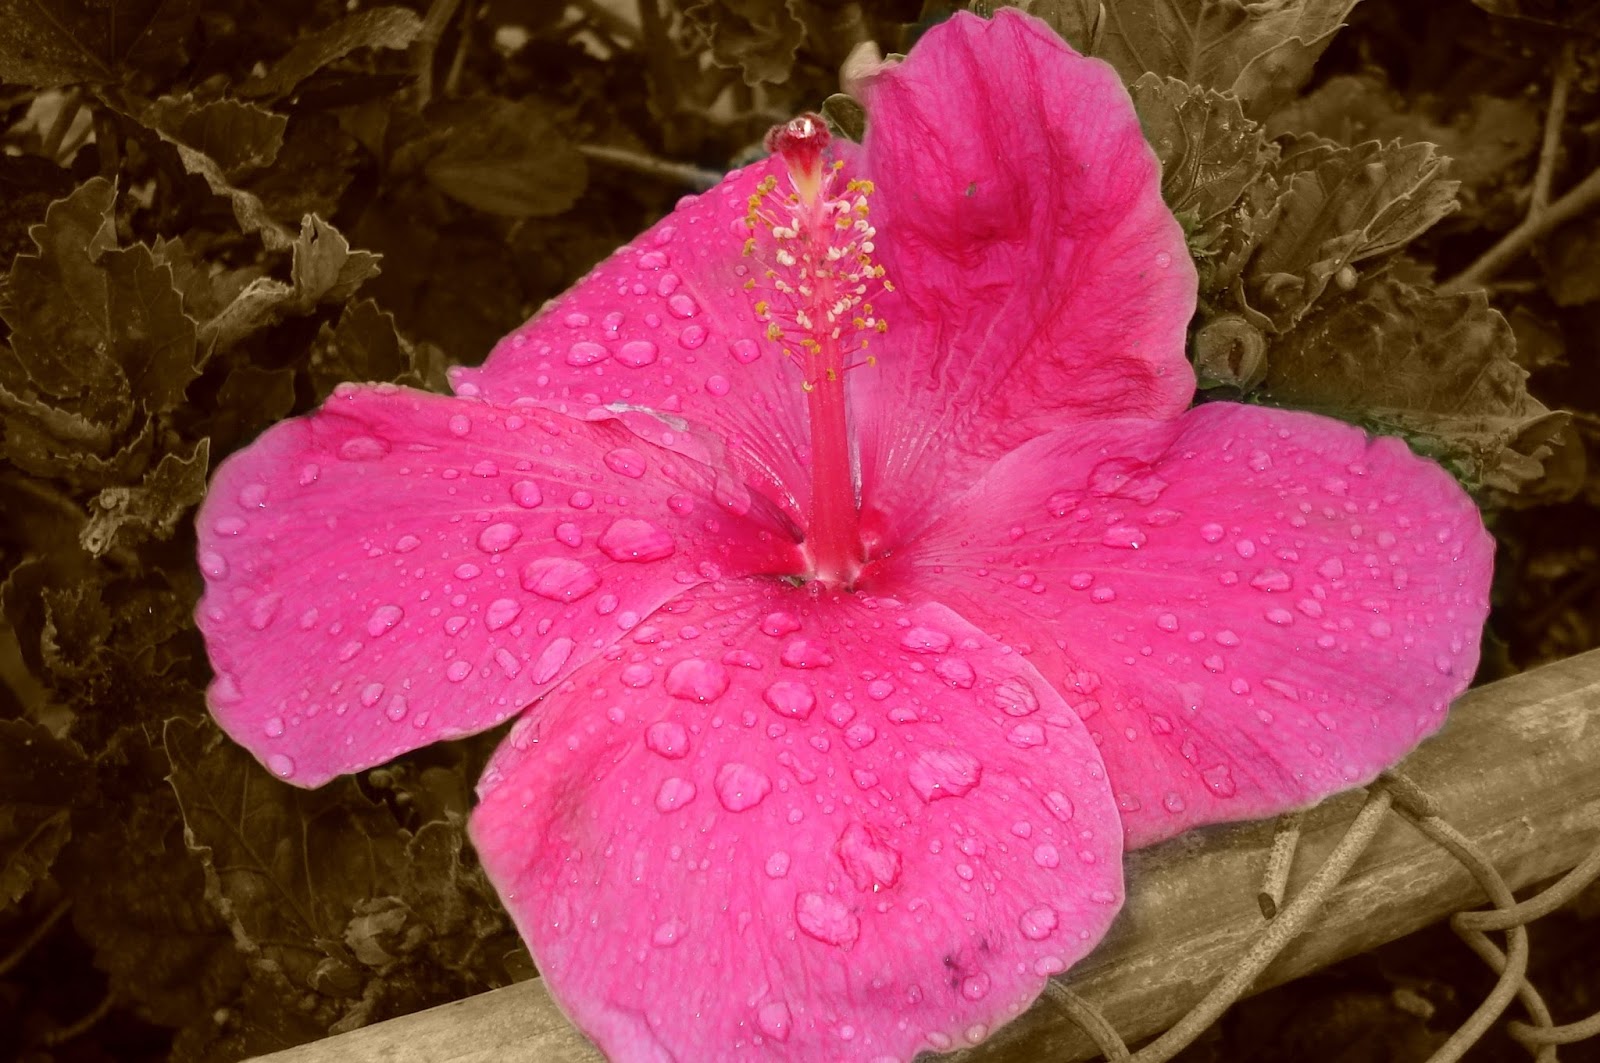
Same idea, painted the flower back to its original color.

Different texts, and an effect.

Text and an effect.

Only text added, but enlarged and faded.

Texts and effects.

Text and effects.
Can you tell I had a thing for finding quotes to compliment my photos? :o)

Just an effect and border added.

Just an effect.


No comments:
Post a Comment